Ornament Instructions
IMPORTANT!
Our wonderful coordinators are unpaid volunteers, often with other jobs and obligations to fulfill in addition to the work they do for us. Each year, they spend countless hours packaging, re-packaging, tagging, re-shipping, counting, and doctoring donation shipments. Please read the following carefully. And THANK YOU for everything you do!
Our Ornaments
Christmas can be a challenging time of year for disaster survivors; it’s often a reminder of the people and things they’ve lost. Our mission is to give them a bag of handmade ornaments created by people from all across the United States (and sometimes other countries!) to let them know they are loved and remembered. Of course, that means we need people to make these ornaments, first. That’s where you come in!
Simple or elaborate, many or few, every donation counts! And if you are concerned you don’t have the skills or the time, don’t worry! You can make as many or as few as you’d like, and there are plenty of projects for all ages and skill ranges. Just take a look at our Showcase page! You can even team up with your family, church, classroom, coworkers, or community for some extra fun and help!
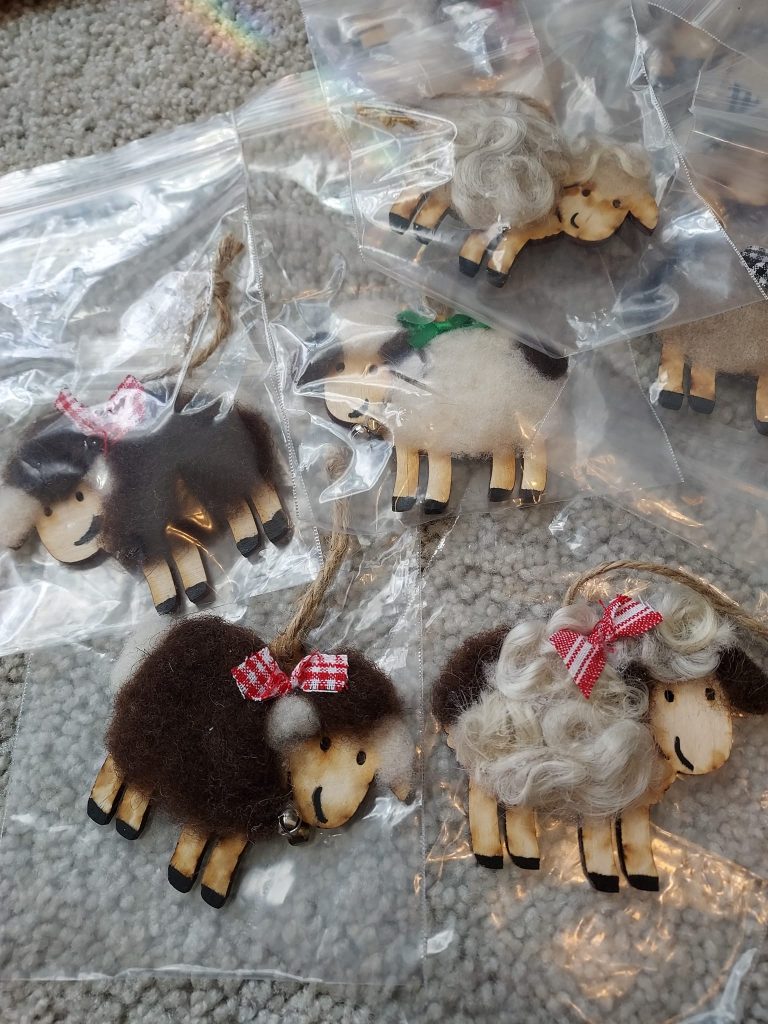
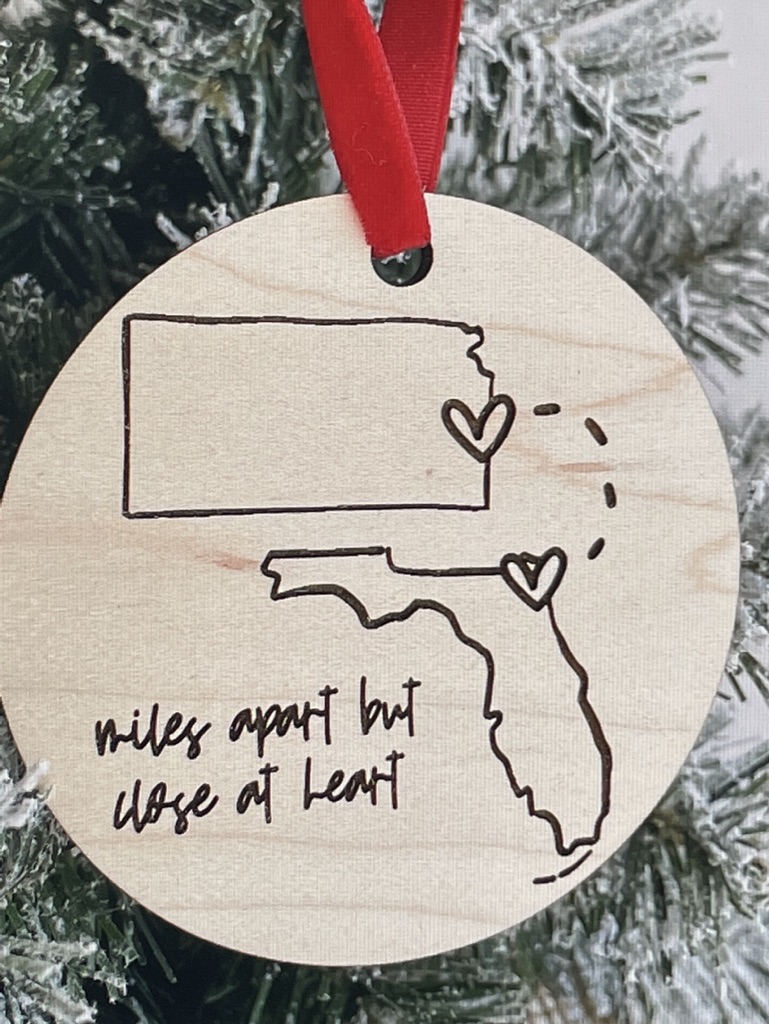
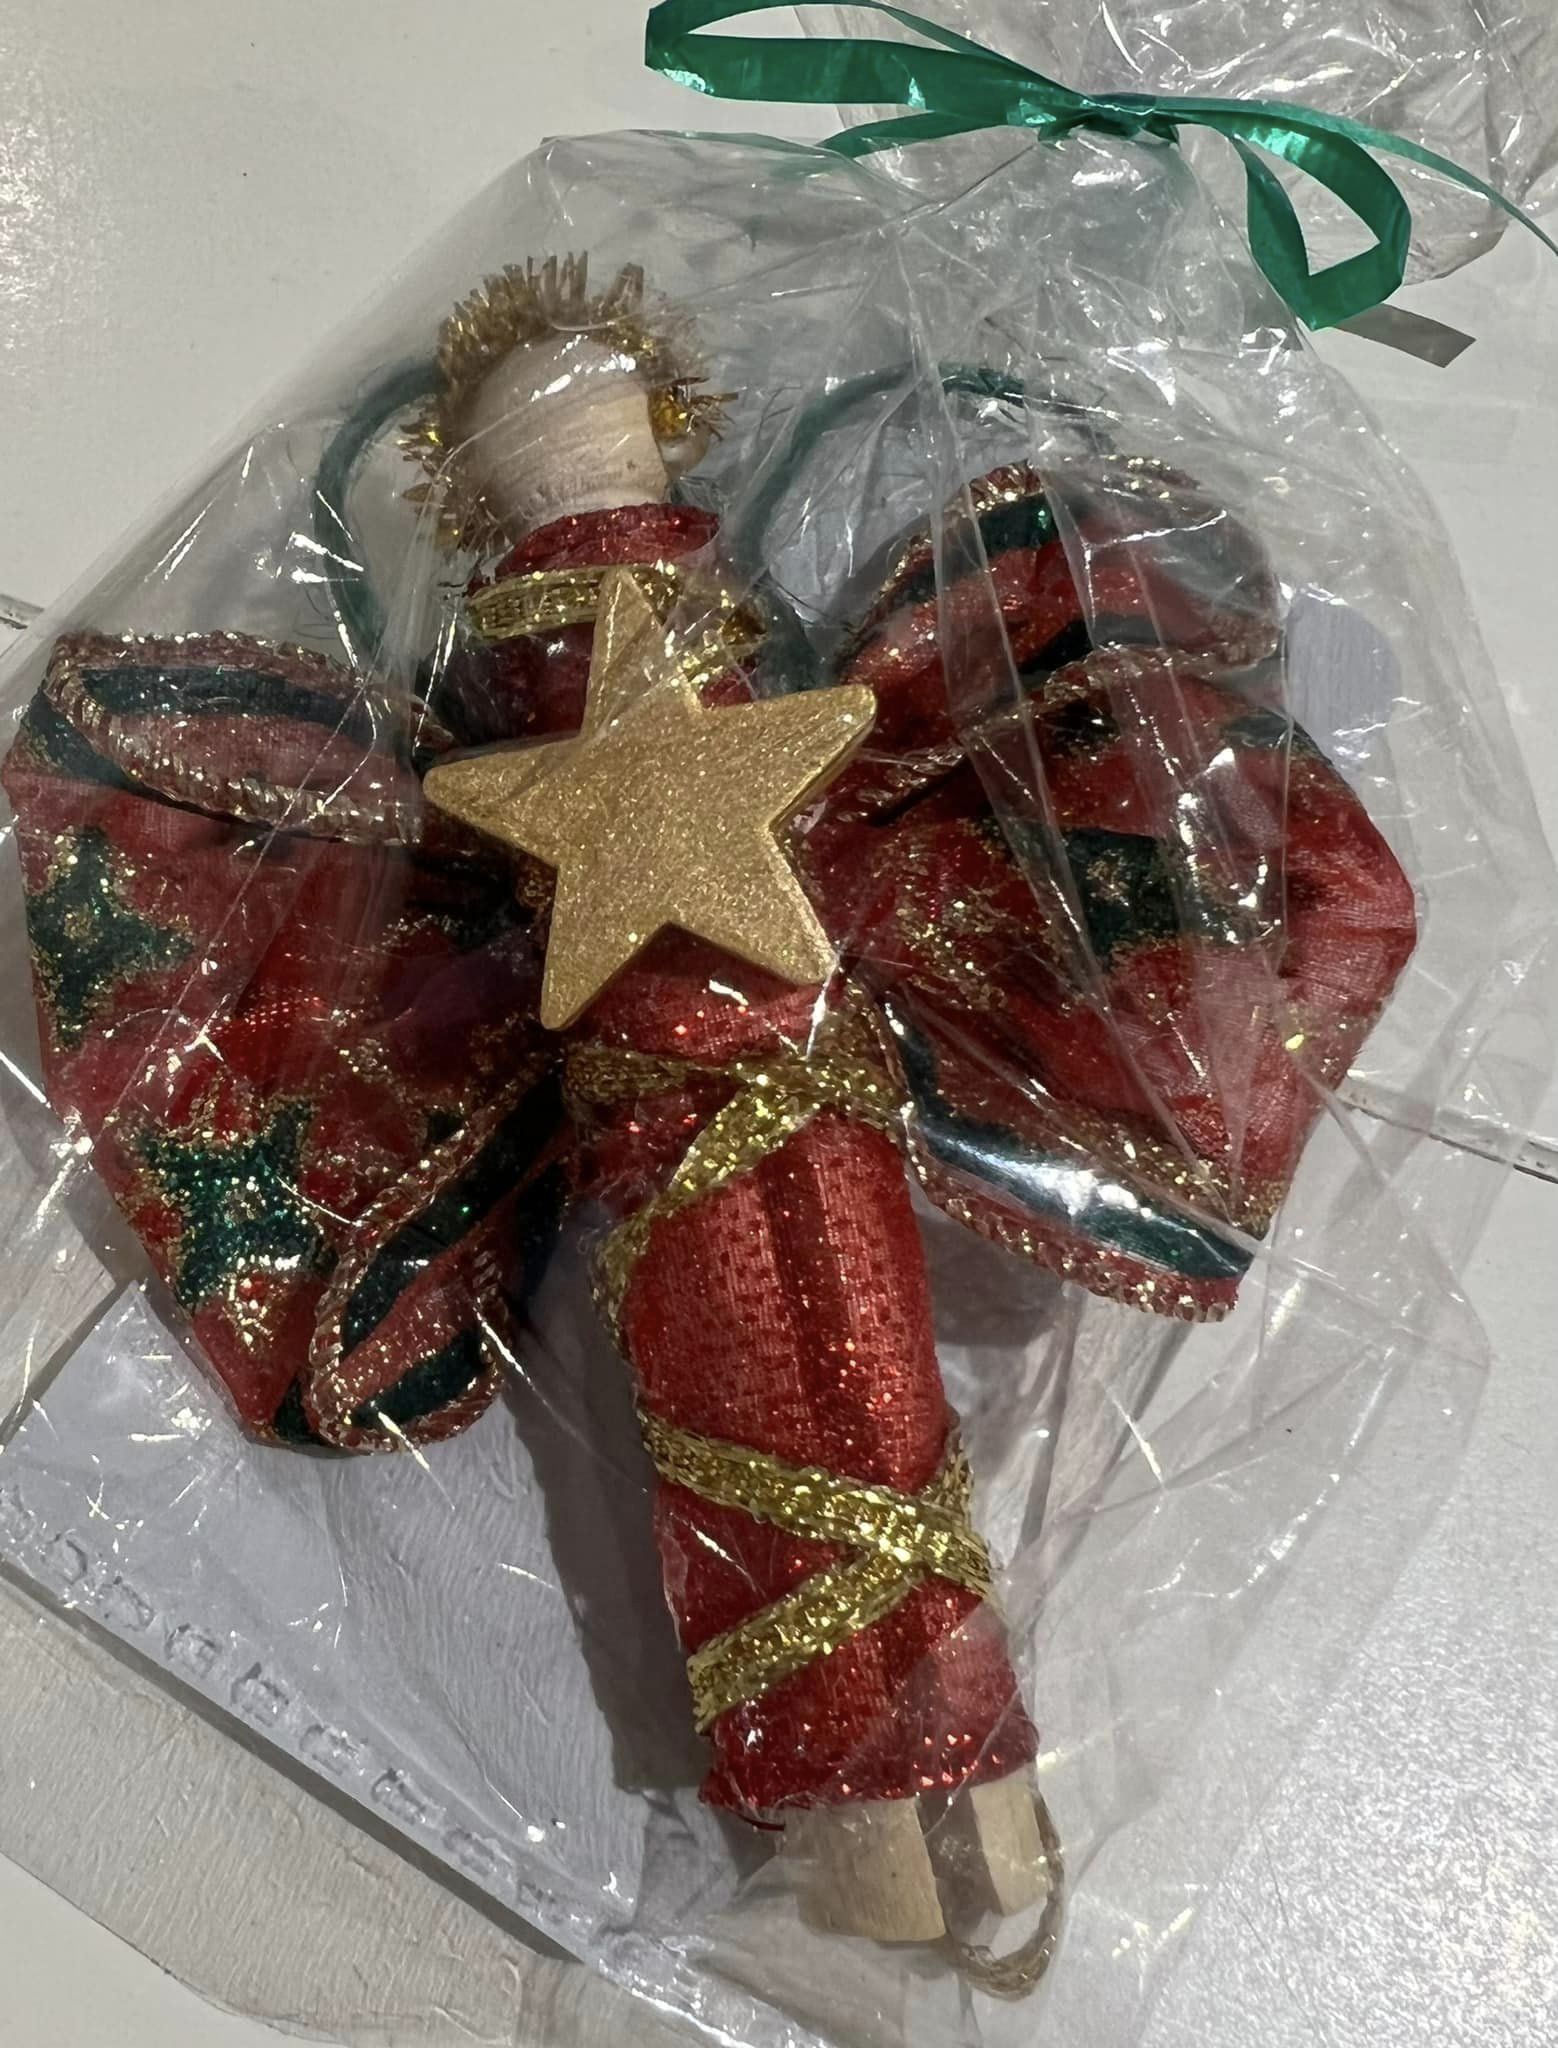
Step One: Make the Ornaments
The possibilities for what you can make are endless and there are only a few rules you’ll need to follow. In short, every ornament should be:
- Handmade
- Sturdy
- Given a hanger
- Ideally 4-5 inches (10-13 cm) or less*
* Narrow ornaments can be a bit longer. Larger ornaments are difficult to fit into the distribution bags without causing damage.
All ornaments should be able to withstand reasonably rugged shipping conditions, and all parts that might come apart or fall off should be secured with an appropriate adhesive. (We have found that hot glue does not usually work very well with wood, please use wood glue.) See our “Pro Tips” below for suggested materials, common mistakes, and more.
If you would like, you may mark the city and state/country the ornament is coming from on a discreet area (such as the back) for each one. The recipients appreciate a reminder of where these gifts come from. However, please DO NOT PUT THE DATE OR YEAR anywhere on the ornament! If a package of ornaments arrives too late to be distributed the same year, such as if they are sent past the deadline or there are shipping complications, we will distribute them the following year.
For ideas, see our Ornament Showcase or check our Facebook page.
After receiving, processing, and distributing tens of thousands of ornaments every year, we’ve learned a thing or two about things that work and don’t work. Here’s some of the things we’ve learned:
- Good materials to use include wood, fabric, plastic, beads, metals, and yarn. Please avoid glass, clay, or any materials that are thin, fragile, or may be prone to breaking during shipping and handling.
- Green ornaments aren’t very visible when placed on a green tree. If you would like to use green, we recommend you use lighter shades so that the ornaments will stand out more.
- Most glues don’t work well with wood. Please use wood glue.
- Let glue and paint dry for a few days before mailing. It’s always sad to see a beautiful design that got ruined because it wasn’t completely set!
- If you are using ribbon, burlap, or anything that is prone to fraying, please seal the ends to prevent this from happening.
- If you are using parts that snap or slide together, they may come apart during transit or even regular use (we’ve seen it happen). To avoid this, please glue each piece together or put a couple stickers over the seams and closures.
Step Two: Bag and Tag
Each, individual ornament, needs:
- Its own see-thru, sealed or seal-able bag (cellophane, plastic, or organza)
- A note that includes the city and state/country its coming from
- To be completely dry (if wet media is used)
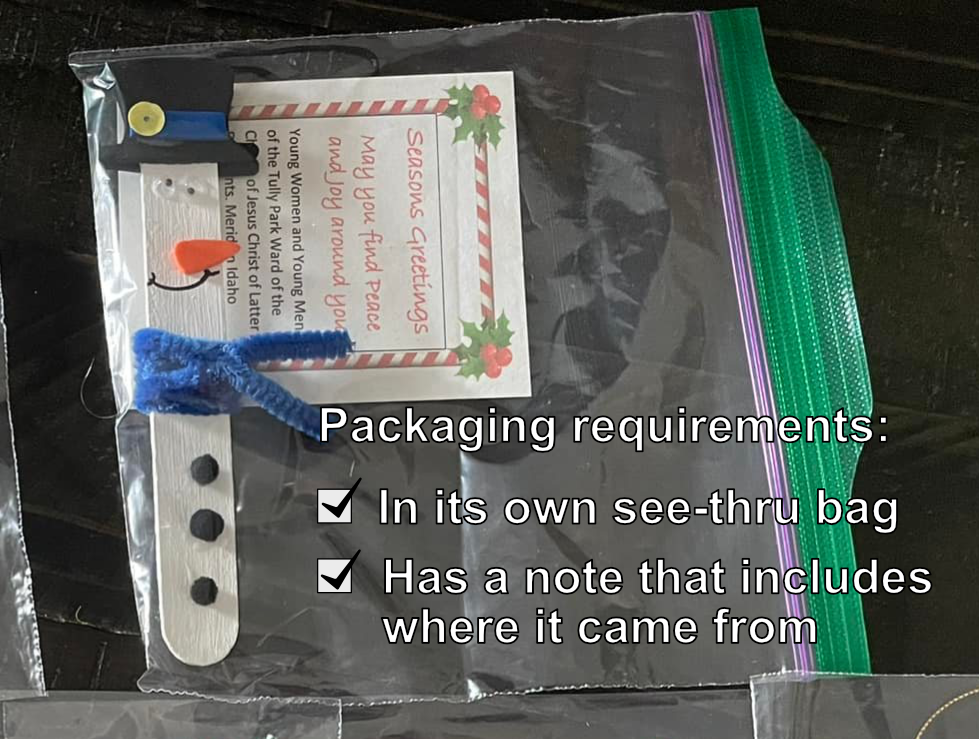
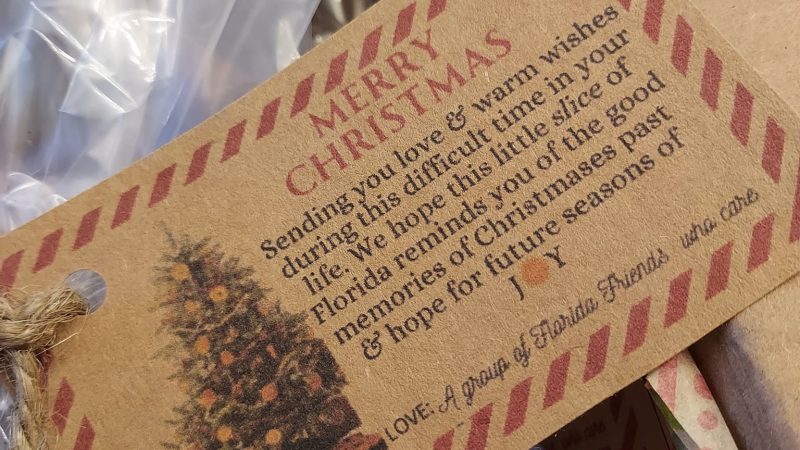
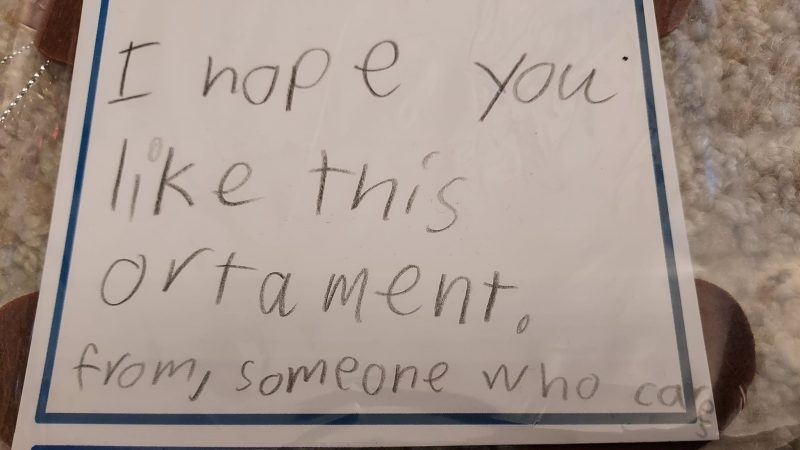
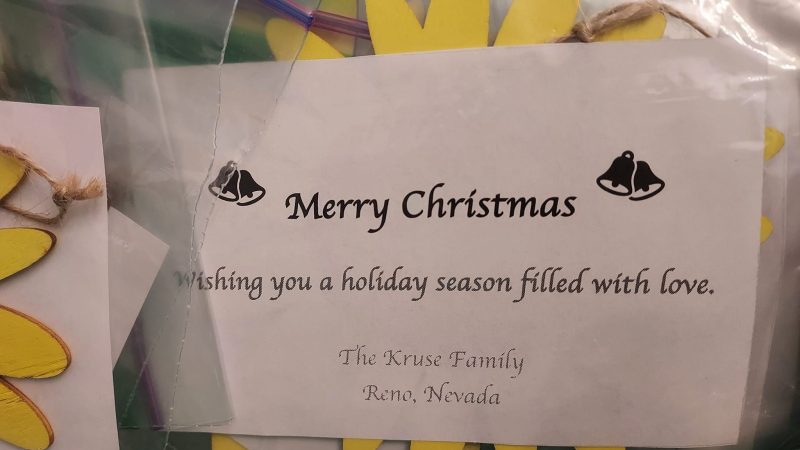
Having to send a note with each ornament may sound intimidating but its actually quite simple. It just needs to express a little hope, encouragement, or love to the recipient and include where the ornament is coming from. They can be printed or handwritten, decorated or simple, paragraphs or just a couple words. They can all be the same or they can all say different things. Just be sincere; its the thought that counts!
You may also include your name and/or the name of the organization you are working with in your note. However, for the sake of clarity, please avoid abbreviations such as NHS (National Honor Society) or YSA (Young Single Adults).
Some examples from real donors:
Keep in mind, wet media (such as paint, glue, or clay) often takes several days to completely dry. Protect your hard work; when in doubt, give it more time!
Once all materials have completely set and dried, simply place a note in each ornament bag and then, if the bag does not have a seal, secure the opening with something like a twist tie so they don’t fall out. That’s it! They’re ready for shipping!
Step Three: Box and Ship It
The guidelines for packaging and mailing your donations are simple, so it shouldn’t take long before they are ready to be sent off. Just be sure to ship it off before or on the deadline. (The cut-off date for shipping donations is typically October 31st but it may vary depending on whether its international, how complicated shipping is, and other factors).
Each individual box of ornaments needs to contain the following:
- A note that tells us how many ornaments are in that specific box
- Sufficient padding to protect your hard work
- The address to a current distribution point
The location(s) we are currently serving changes from year to year and, therefore, so does the shipping address for donations. For 2025, please ship ornaments before or on October 31st to either of the following addresses:
Operation Ornaments
C/O Robin
12026 Pecan Avenue
Waterford, CA 95386
Operation Ornaments
C/O Laura
22 Stoney Brook Drive
Winchester, KY 40391
We kindly ask that you avoid sending ornaments to a location if you know the package will arrive past the deadline. Instead, wait for us to announce the next year’s location(s) and send them there. Packages that arrive at a previous year’s location or are too late to be distributed are costly to re-ship!
If you would like to make your donation tax deductible, please send an email to info@operationornaments.org with the subject ‘Donor Tax Information’. We will send you the necessary information.
Shipping can be stressful and expensive so here are a few tips to help it go smoothly!
- Consider using a service like Pirate Ship to compare shipping rates.
- Ensure that you have enough padding to protect your donation by gently rocking the shipping box (with ornaments inside) back and forth. If you feel the ornaments moving, you may need to add more padding. Bubble wrap and plastic air-cushions work well.
- Save your receipts for the ornament supplies and take photos of the ornaments and box before mailing. This will help if you need to make a claim on a lost or badly damaged box. It doesn’t happen often, but it does happen!
- Before you close up your box and ship it, do a double check to make sure you aren’t missing anything. Have you packed every ornament you intend to ship? Did you remember to include the total in each box? Do you have the correct address?
In Summary...
We Love Our Donors!
To anyone who has made or is considering making ornaments for this cause, we want to express our sincere appreciation. This is an important work and it really does make a difference. We couldn’t do it without you!
If you want to get involved or are looking for other ways to help, check out our Ways to Help page.